It is quite common to encounter the Error Code 0x80090011 while setting up Hello PIN on Windows 11/10 PC. Several users confirmed this bug on different forums. The failed error message that you may receive on the display screen is as follows.
"Something went wrong, and we couldn’t set up your PIN, Error 0x80090011".
Recently installed updates, administrator login issues, faulty TPM, and non-functioning IPsec Policy Agent are some of the main causes that may prevent creating Hello Pin errors on Windows 11/10 devices. In this post, we will discuss nine working ways that should help you to get rid of this Windows Hello PIN error.

Note: If you are getting this error code while updating Windows or installing the latest cumulative updates, read this post instead.
Windows Hello Pin Error 0x80090011, Fixed
To solve the Windows Hello Pin Error 0x80090011, try implementing the below fixes sequentially –
- Reboot your PC
- Log out of the running Microsoft Account
- Rollback to the previous build
- Unjoin the Azure AD and rejoin
- Re-create a new PIN
- TPM Issues on Windows 10
- Change the Startup type of IPsec Policy Agent
- Modify the Group Policy setting
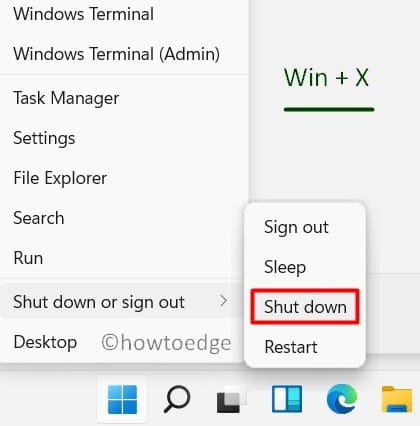
1] Reboot your PC
Rebooting the PC is a simple yet effective way to get rid of different issues including Hello PIN Error 0x80090011 on Windows 11/10. If for any reason, you are not able to create a PIN, just sign out of your Windows and restart the computer.
2] Log out of the running Microsoft Account
Another quick way to fix this transient error code 0x80090011 is to sign out of your Microsoft account. After you log out of your official account, restart your PC again. When Windows 11/10 reloads, try signing in to your Microsoft account and see if you are now able to create a Hello Pin or not.
3] Rollback to the previous build
It has been found that a buggy Windows 10 update often tends to cause a Hello Pin error including error 0x80090011. So, if you had recently upgraded your Windows 10 to its next available Build version, try rolling back to the previous OS. Rolling back to the previous Build Update is the best way here that you can perform as follows –
Note: This feature gets deactivated after a time span of 10 days. So, if you don’t get this option, worry not. Instead, try out this method and see if it works in your case –
- Press Win & R to start the Run dialog.
- Type
appwiz.cplin the text field and hit OK. - Click View installed updates on the left column.
- Head over to the adjacent right side and click on the latest KB build.
- Click Uninstall on the top ribbon and let this patch gets removed successfully.

- Your PC may restart several times during this, so wait patiently.
4] Unjoin the Azure AD and rejoin
Sometimes the Hello PIN Error 0x80090011 may also occur if you had joined Azure AD on your device. If that’s the case, you (as administrator) must unjoin the Azure AD, and when everything seems to be working all right, rejoin it. Here are the required steps to work upon –
- Open Settings using the Win & I shortcut.
- Proceed as follows – System > About.
- Select the option – “Disconnect from the organization” on the right pane.
- Restart your PC next and when it does, rejoin your PC to the organization.
- See if it is working all right or not.
5] Re-create a new PIN
In case none of the above solutions resolve the Hello Pin Error 0x80090011, you need to re-create a new PIN. The process is quite simple, all you require is to follow the below guideline –
- Press and hold Win & I.
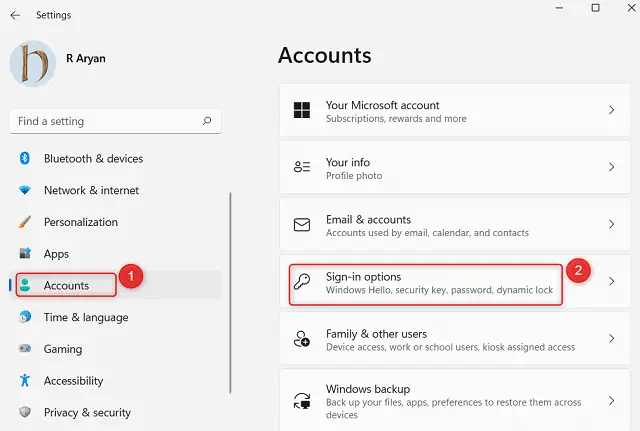
- When the Settings app launches, click to expand Accounts.
- Select the Sign-in option on the left pane and head over to the right side.
- Click Windows Hello PIN followed by the link – “I forgot my PIN“.

- When the confirmation window comes into the display, hit Continue.
Note: If a new window appears prompting you to sign in to your Microsoft account, do the same.
- Subsequently, hit “I forgot my PIN” again.
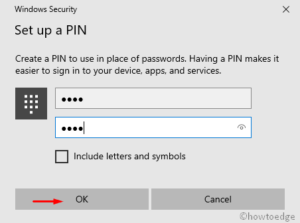
- Enter a new PIN and click OK.
- Restart your PC next and check if the PIN Error 0x80090011 gets resolved or is still occurring.
6] Fix TPM Issues causing Hello PIN Error 0x80090011
If the Hello PIN Error 0x80090011 still persists, modifying the TPM settings might help. Here’s how to clear TPM on Windows 10 –
- Sign in to your device as an Administrator.
- Use Win + S and type “
tpm.msc” on the search bar.
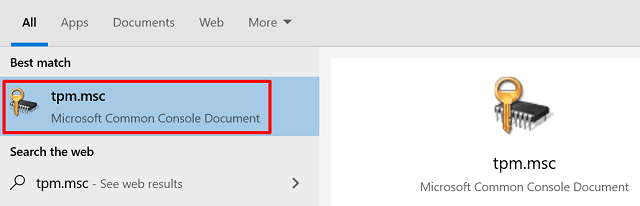
- When the Microsoft Common Console Document comes into the display, click on it.
- Using the Actions drop-down menu, select Prepare the TPM.
- Finally, reboot Windows 10 so that the changes made become effective from the next login.
7] Change the Startup type of the IPsec Policy Agent
If the error is still there, try altering the IPsec Policy Agent on the services window. Here’s how to proceed –
- Hit the Start button and start typing “Services”.
- Click over to the top result to enter the Services window.
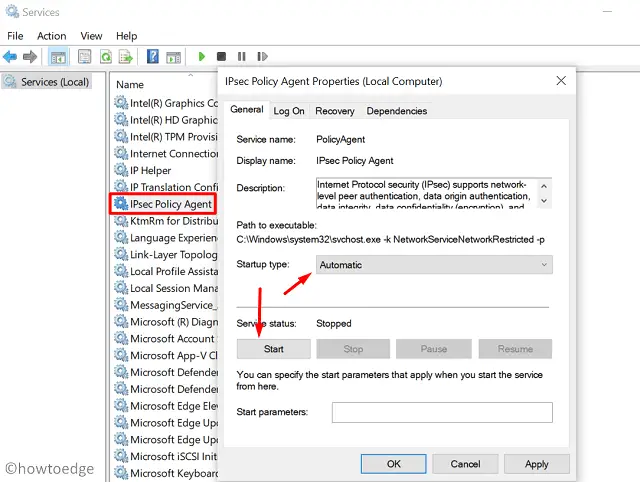
- Scroll down and double-click on the service – “IPsec Policy Agent“.
- Under Startup type, set it as Automatic. Next, hit Apply then OK to confirm the above configuration.
- Lastly, restart your PC so that the recent changes come into effect.
8] Modify the Group Policy setting
Group Policy Editor is an in-built utility program on Windows 10 all editions (except Home) that you can use to fix Hello Pin Error 0x80090011. Here’s how to modify the GPE –
- Right-click on the Windows icon and select Run.
- Type
gpedit.mscat the void and hit OK. - On the left pane, click Administrative Templates.
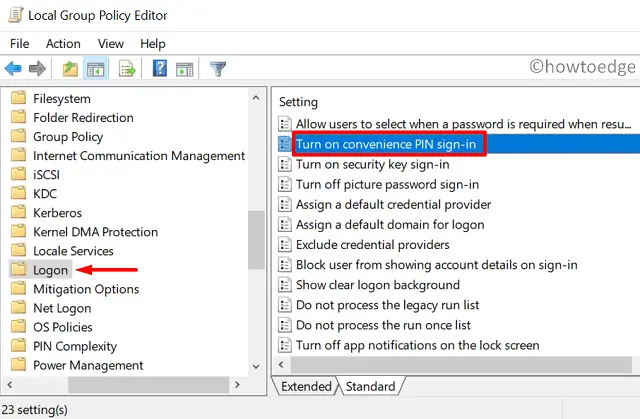
- Move to the right side and expand System > Logon.
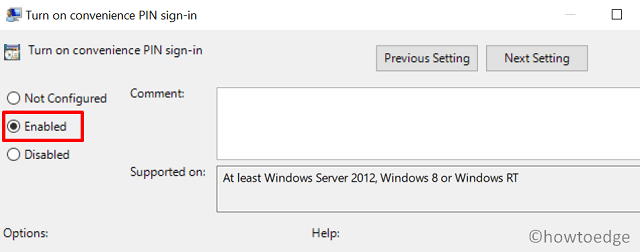
- Now, locate and double click on Turn on convenience PIN sign-in.
- On the subsequent window, mark the Enabled option and then hit Apply > OK.
- Restart your PC next and see if the problem gets resolved or is still occurring.
9] Call Microsoft Support for Windows 11/10 Pin Error
I hope the above workarounds must have solved the Hello PIN Error 0x80090011 in your case. If not, you may contact Microsoft Support and let them help you with this issue.
In case you have any queries or suggestions, let us know in the comment section below.
How do I disable Windows 11 Hello PIN?
If you don’t want to continue using the Hello PIN on Windows 11, you may use these steps –
- Launch Settings by pressing Windows + I.
- Go to Accounts (left sidebar) and click Sign-in options on the right pane.
- Click to expand PIN (Windows Hello) and when it does, hit the Remove button.
A confirmation window will appear next, click Remove again. Sometimes, your device might ask for the Account password to confirm the removal of the Windows Hello PIN. Well, enter your account password and hit OK. That’s it, your PIN is now successfully removed from your system.


![[Fixed] You've entered an incorrect PIN too many times](https://www.howtoedge.com/wp-content/uploads/2023/02/Fixed-Youve-entered-an-incorrect-PIN-too-many-times-300x171.png)
