In this guide, we will discuss two different ways that you may use to change your existing local account password on Windows 11 PC. They are using either the Settings app or by using Windows PowerShell in Terminal (Admin).
Go for the PowerShell method only when you are comfortable running codes on the terminal. The settings app provides a quick and easy interface to change your passkey as well. So, choose whichever option suits you the most.
Read Also: Windows Terminal will replace Command Prompt as default in Windows 11
Change Local Account Password on Windows 11
To change or reset your local account password on Windows 11 PC, you may try either of the below methods –
1] Change or Reset the Local Account Password via Settings
The easiest way to change your local account password on Windows 11 is via using the Settings app. Here’s what you need to do –
- First of all, launch the Settings window (Win + I).
- Select Accounts on the left navigation pane.
- Head over to the right pane and click Sign-in options.

- Scroll down to the Password section, and click the Change button beside “You’re all set up“.

- Type your current password and then hit Next.

- Type in your new password, confirm it and then set a password hint.
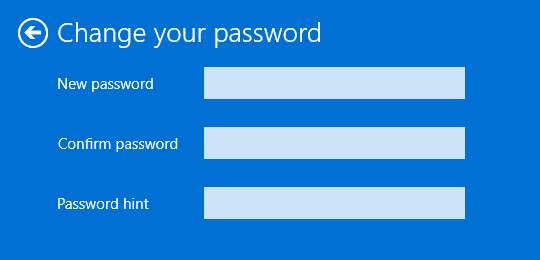
- Click Next to confirm the changes made so far.
Reboot your PC and when it does, sign in to your local account using the newly set password.
2] Use PowerShell to change the Account password in Windows 11
Users may change their local account password by running a few codes on Windows PowerShell as well. Learn how to perform this task on your Windows 11 PC –
- Press Win + X and hit the option – Windows Terminal (Admin).
- The terminal will default land into the Windows PowerShell (Admin).
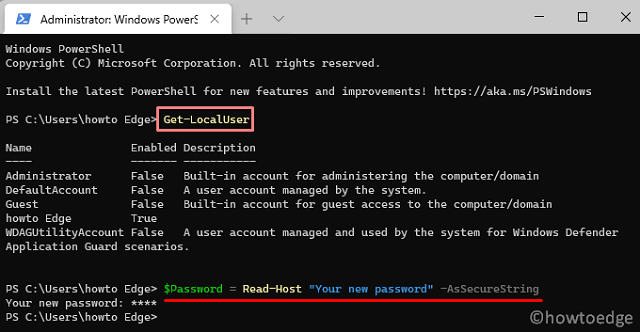
- Execute the below two codes one after another –
Get-LocalUser
- Now that you have accessed your local user account, copy/paste the command below to store your newly created password as a secured string.
$Password = Read-Host "Your new password" -AsSecureString
- Type your new password and press Enter again –
********
- Next, run the below two codes to assign the newly created password to your local account.
$UserAccount = Get-LocalUser -Name "USERNAME"
$UserAccount | Set-LocalUser -Password $Password
Note: In the first command line, make sure to replace USERNAME with the user name available on your Windows 11 PC.
- Now that you have assigned a new password to your local user account, restart your PC.
- When Windows 11 reloads, use the new password to get past the lock screen.
I hope you find this article useful to change, reset, or modify or local user account password on Windows 11.
Read Next: