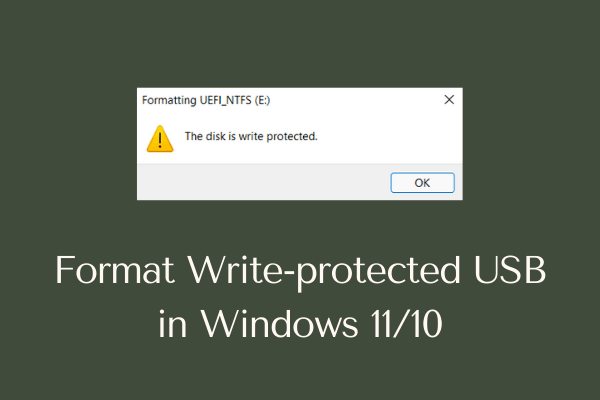
When you try to format a read-only USB or flash drive, the formatting never completes. Instead, you receive an error message that says – “The disk is write protected“. Since you are here, you might also be encountering the same issue. Well, in this guide, we will discuss three different ways using which one can easily format write-protected USB on Windows 11 or 10 PC.
They are by utilizing the following key tools on your computer –
Format write-protected USB on Windows 11/10
To format a write-protected USB or disk drive on Windows 11/10, you may attempt any one of the three fixes discussed below –
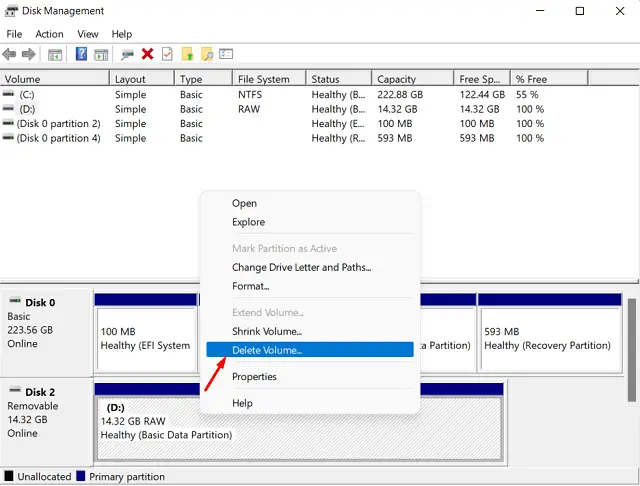
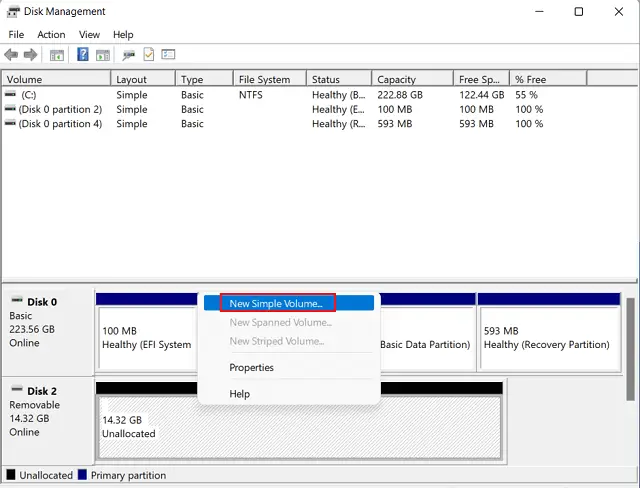
1] Using Disk Management
This is the simplest of all three ways we are going to discuss below. Here’s what you need to do format a write-protected USB on your computer –
- Right-click on the Windows Icon (Win + X), and select Disk Management.
- Locate the drive that is not formatting normally on your Windows 11 or 10 PC.
- Right-click on it and choose the option – “
Delete Volume...“.
- When the selected disk drive is deleted, it will read – Unallocated.
- Right-click on it again and this time choose the option – “
New Simple Volume...“.
- Now, keep pressing the Next button again and again till you reach out to the last window.
- Hit Finish at the end to activate the deleted volume.
You might find this useful: Enable or Disable Notification of USB Issues in Windows 10
2] Via DISKPART
Enabling formatting on read-only PenDrives/flash drives using Diskpart, do the following –
- First of all, press Win + R to launch the Run dialog.
- Type “CMD”, and press Ctrl + Shift + Enter keys altogether.
- Performing so will start Command Prompt having admin rights.
- Copy/paste the below code next –
Diskpart
- The command-line will now shift from C:\Windows\System32 to DISKPART.
- Now, execute the codes below one by one. Make sure to press the Enter key after each command –
list disk
select disk #
attributes disk clear readonly
clean
create primary partition
format fs=ntfs
exit

Note: The USB formatting via Diskpart may take some time, so wait patiently.
- I hope your USB drive is now formatted and ready to use.
3] By Modifying the registry
Though Diskpart is self-sufficient to format any write-protected disk on Windows 11 or 10 PC, you may try the registry as an alternate method. However, make sure to do things exactly as mentioned below. Any incorrect changes to the registry may corrupt the entire operating system.
Tip: Create a full backup of your registry in advance so that you can use it if anything goes wrong.
- Press Win + S to launch Windows Search.
- Type “
regedit” and hit OK. - The UAC window should appear next, hit Yes to authorize opening the Registry Editor.
- Copy/paste the below path on its address bar and press Enter. Alternatively, you may use the left navigation pane to reach out to the StorageDevicePolicies.
Computer\HKEY_LOCAL_MACHINE\SYSTEM\CurrentControlSet\Control\StorageDevicePolicies
- Right-click on the WriteProtect entry and change its Value data field to “0” from “1”.
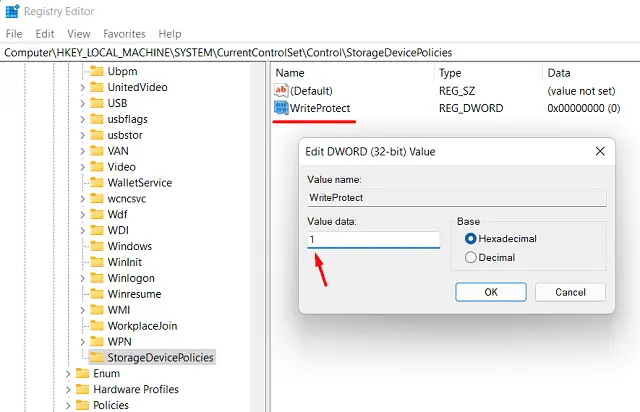
- Click OK to confirm the recent changes. Close the registry and restart your PC.
- I hope you are now able to format your disk drive quite easily using the regular way.
No “StorageDevicePolicies” folder inside the registry, what to do?
There is a possibility that you don’t find the StorageDevicePolicies folder on the right pane beside the Control folder on the registry. Well, in such a scenario, you have to create the right subkey and DWORD entry. To do so, use these steps –
- Open Registry and reach out to the below path –
Computer\HKEY_LOCAL_MACHINE\SYSTEM\CurrentControlSet\Control
- Right-click on the Control folder and choose New > Key.
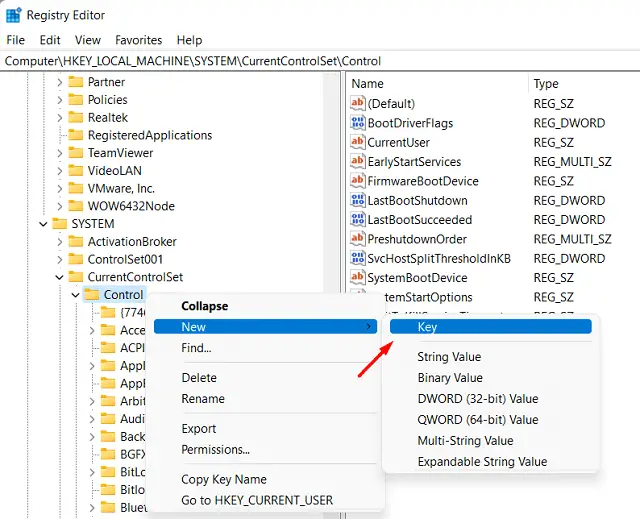
- Rename this key as “StorageDevicePolicies”. Select this newly created subkey and right-click anywhere on the right pane.
- Select New > DWORD (32-bit) value using the context menu.

- Rename this REGISTRY as “WriteProtect“.
- Now that you have generated the Write Protect entry inside the registry, double-click on it, and change its value data field to “1”.
- Click OK to confirm the changes and come out of the registry window.
Restart your PC and you should be able to format the write-protected disk drive on your computer.
How do I format a Removable Device on Windows 11?
If you want to format a USB/Flash drive normally on your Windows 11 PC, do the following –
- Plug your removable device into one of the computer’s ports.
- Press Win + E to start File Explorer, and see if the removable device is visible under “Devices and drives”.
- Right-click on the removable device, and hit Format.
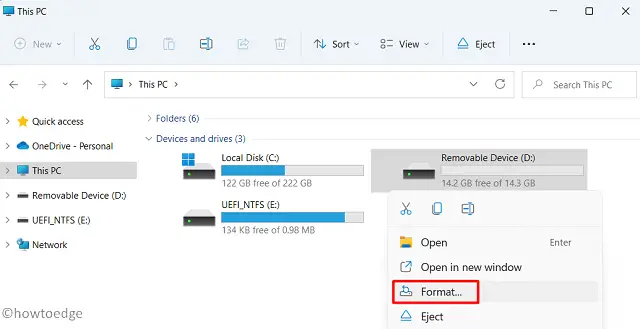
- A pop-up window will appear next, click Start and wait while the formatting completes.
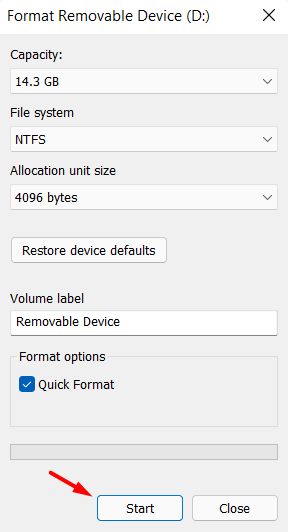
Note: You may change the file system from NTFS to either FAT32(default) or exFAT as well.